How the angled glass spigot is installed on slopes?
Installation Procedure
1. Measure and mark the position
Use a measuring tape to determine where the glass spigots will be installed. Make sure that the distance between each spigot is even and that the position is appropriate for the size and design of the glass panel.
Use an angle gauge to measure the angle of the slope and adjust the mounting position of the glass spigots according to the angle.
Mark the mounting points on the slope with a pen or marker.
2. Drilling
Use an electric drill to drill holes in the marked locations. The depth and diameter of the drilled holes should match the expansion bolts or anchor bolts.
Be careful when drilling to avoid damaging wires or pipes inside the wall.
3. Installation of Expansion Bolts
Insert the expansion bolts or anchor bolts into the drilled holes.
Tap gently with a rubber mallet to ensure they are securely fastened to the slope.
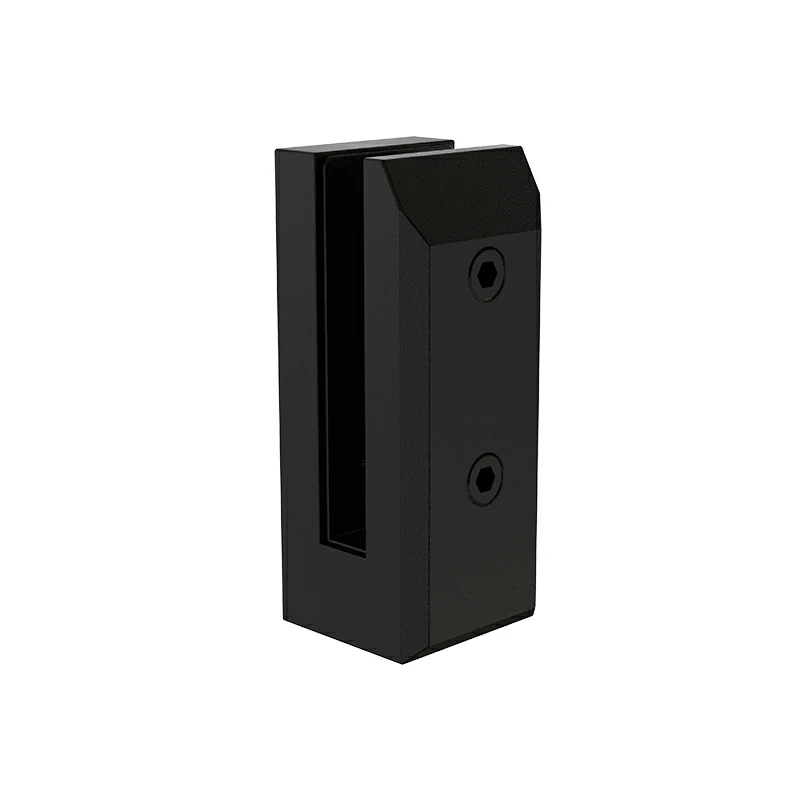
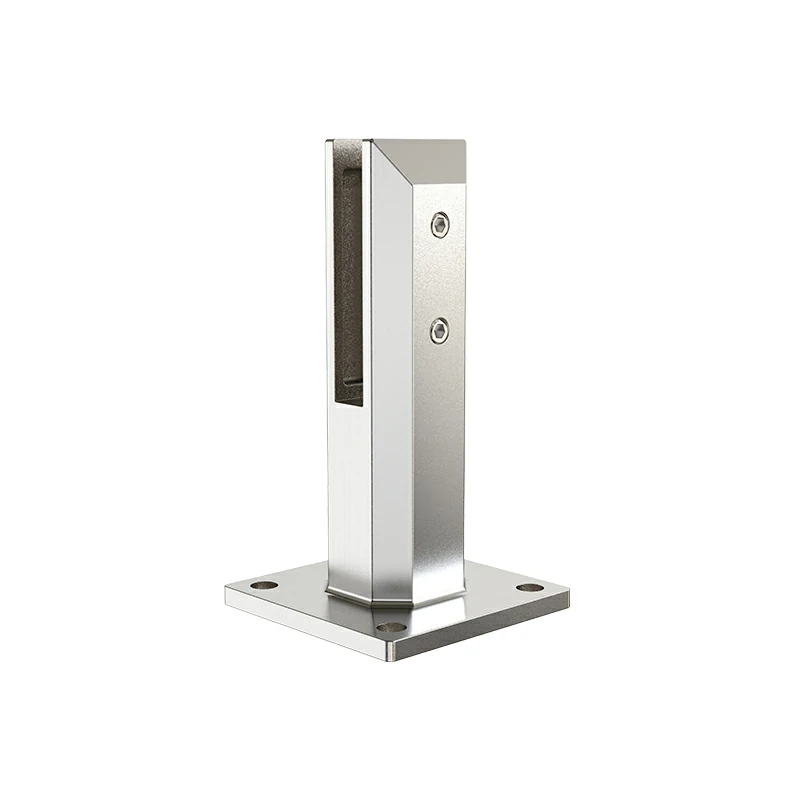
4. Fix the base of glass spigots
Align the base of the angled glass spigot with the expansion bolts or anchor bolts.
Tighten the screws using a screwdriver to ensure that the bases are securely fastened to the slope.
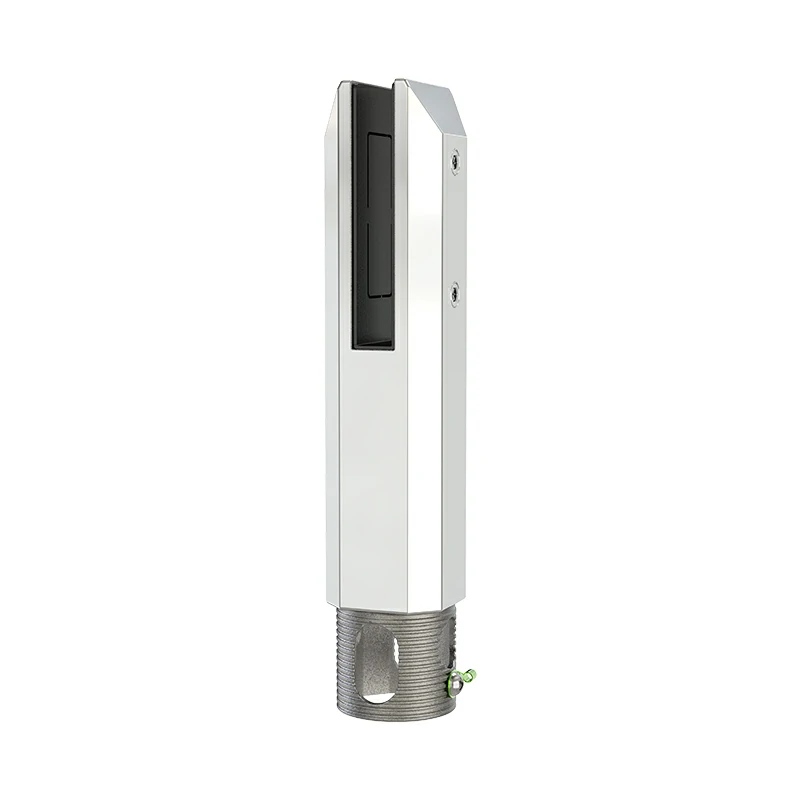
5. Adjusting the angle
Specialized glass spigots for slopes usually feature an adjustable angle. Depending on the angle of the slope, adjust the angle of the glass spigots so that they can run parallel to the slope and ensure that the glass panels can be securely installed.
6. Placement of glass spacers
Before fixing the glass panel, place an appropriate amount of glass spacers inside the jaws of the glass spigots. The glass spacer protects the angled glass spigot from direct contact with metal, thus preventing damage.
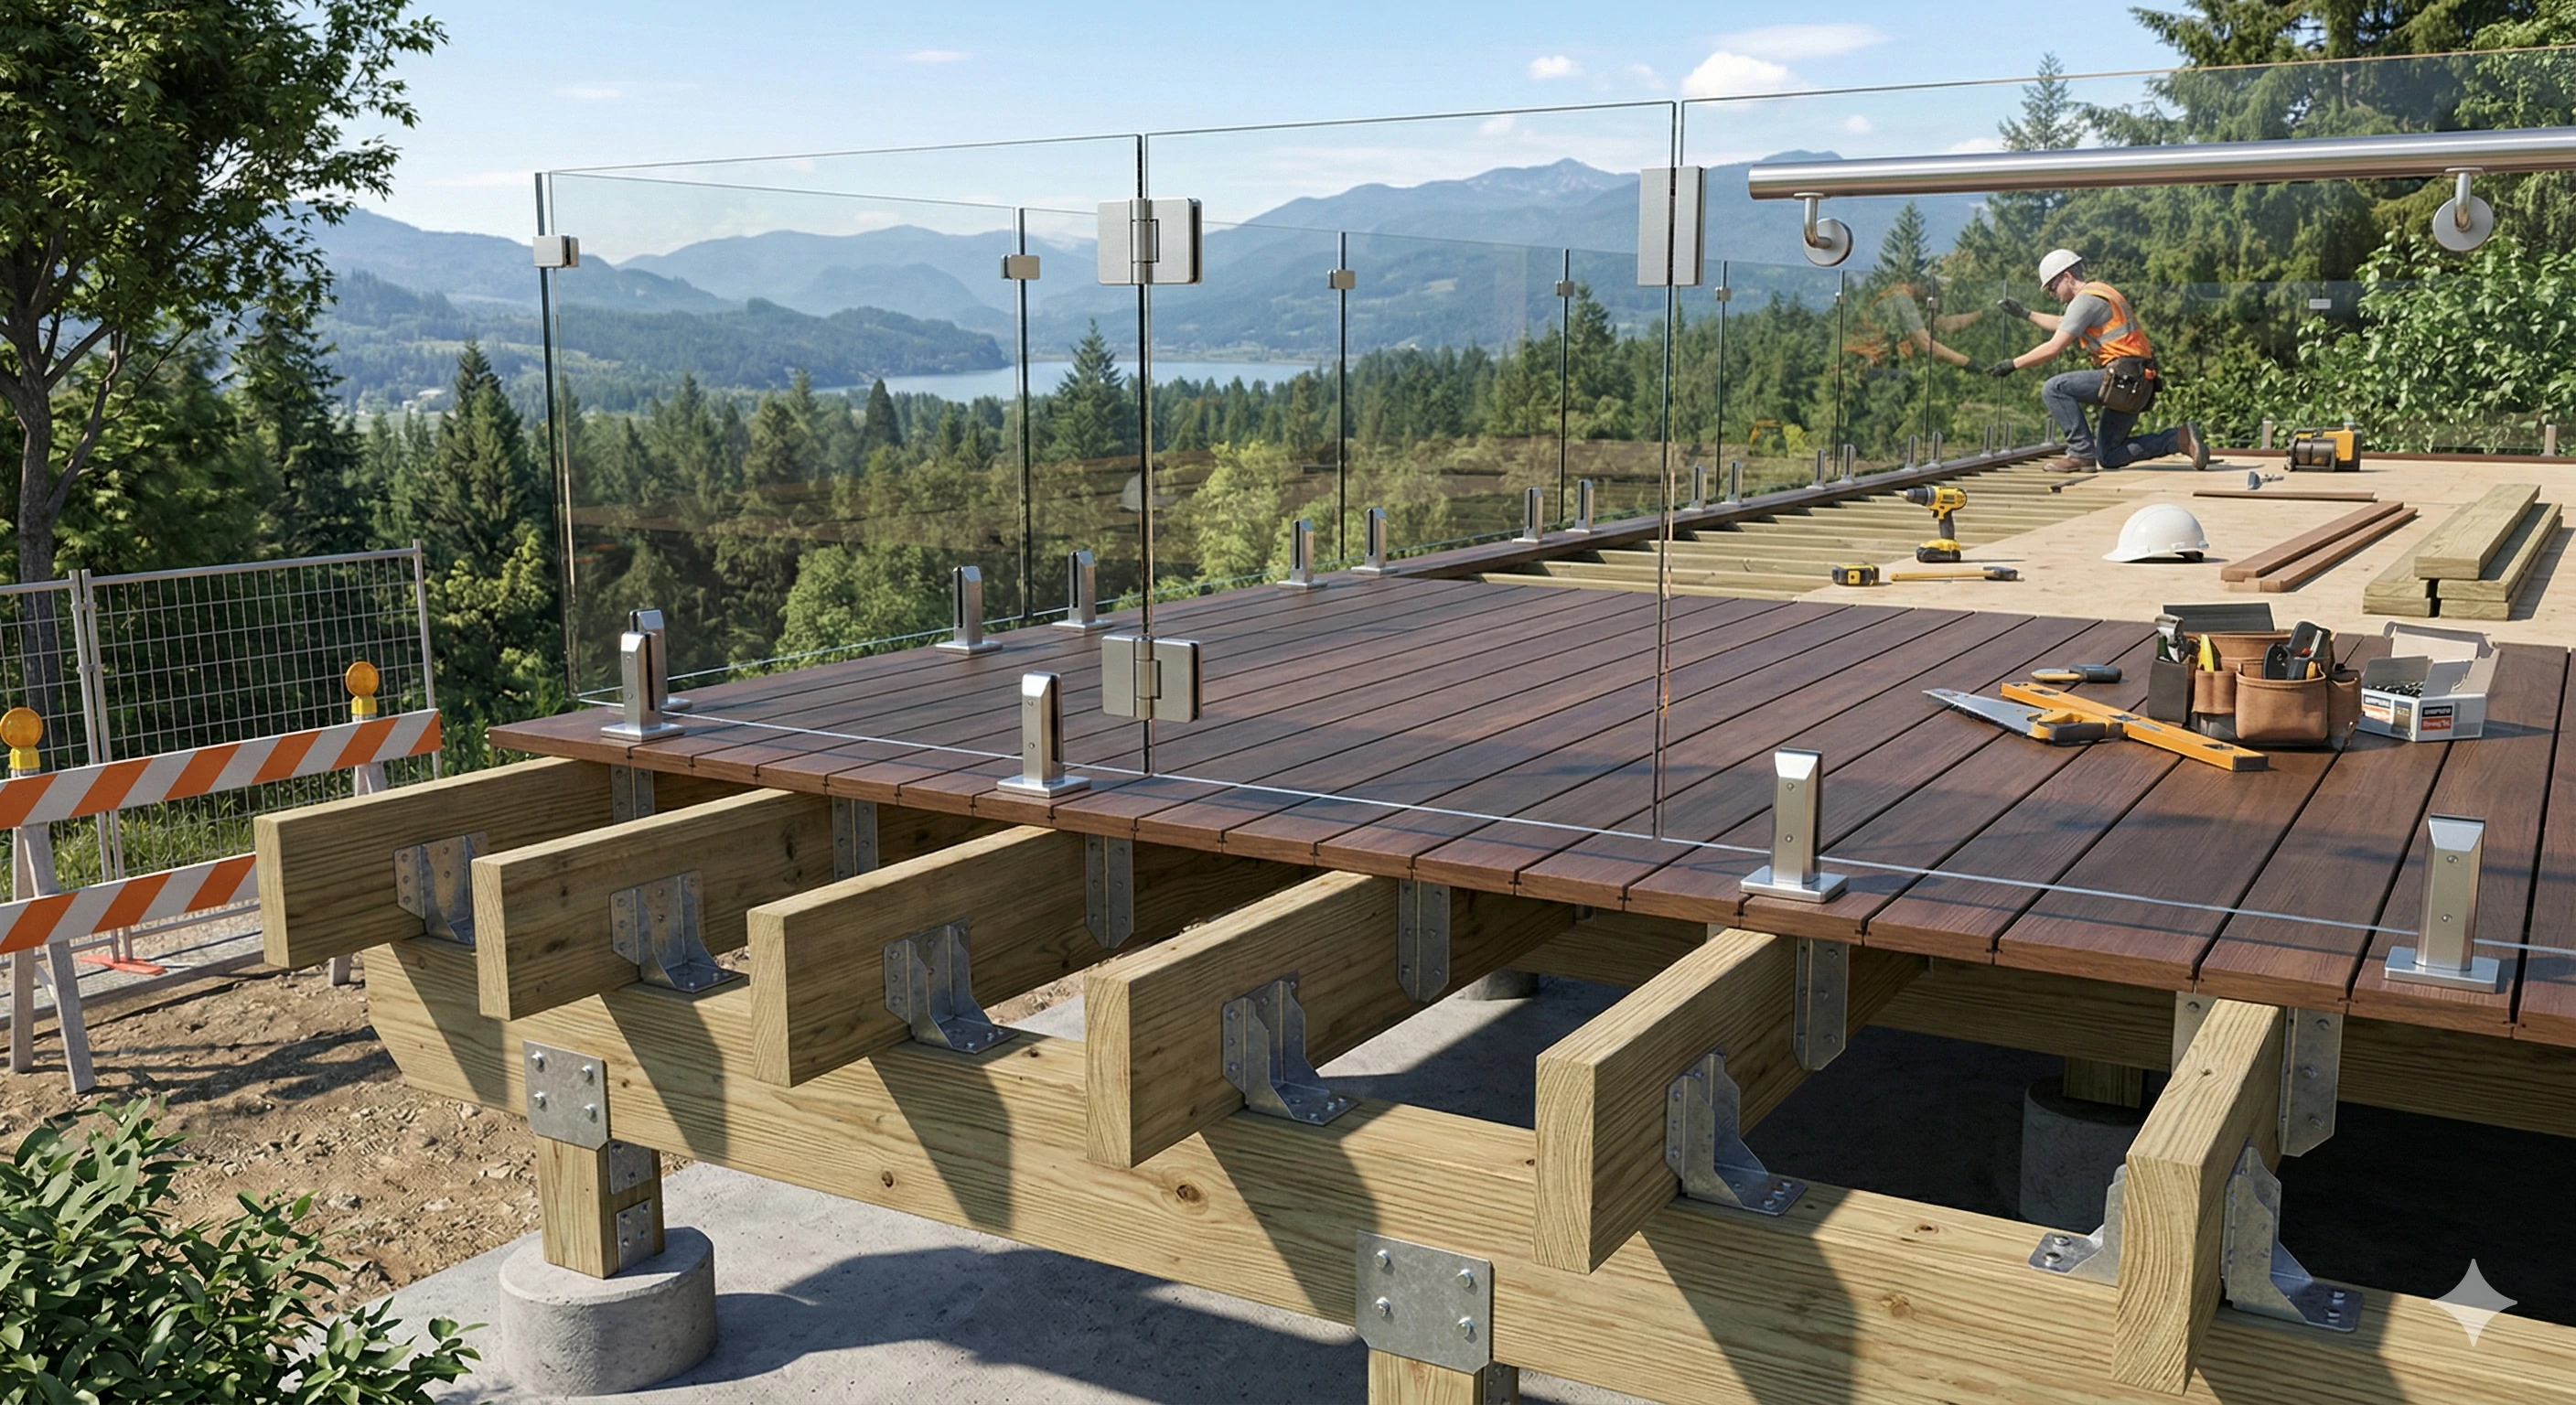
7. Installing the glass spigot
Carefully place the glass panel into the adjusted glass spigots. Make sure the glass panel is aligned with the spigots and is perpendicular to the ground.
Since the installation is on a slope, you may need auxiliary tools or personnel to help secure the glass panel.
8. Adjust and secure the glass panel
Use a level and angle gauge to check that the glass panel is level and plumb. If necessary, fine-tune the position of the glass spigots or glass panels.
Secure the glass panel with screws or clips according to the design of the glass spigots. Ensure that all screws and fixings are securely fitted.
9. Inspection and Confirmation
Finally, reconfirm that all screws and fixings are securely installed and that the glass spigot is stable and free from wobbling.
Use a level and angle gauge to ensure that the glass panels are level and plumb.
Safety Tips
1. Be sure to pay attention to safety during the entire installation process.
2. Wear safety equipment: Use goggles and gloves to protect yourself from glass shards or tools.
3. Handle glass with care: Glass is fragile and should be handled with care to avoid applying excessive force, especially to protect the corners from being knocked or bumped
4. Check the structure of the wall: Make sure the slope can support the weight of the glass, and call a professional for a structural assessment if necessary.
Summarizing
Installing specialized angled glass spigots on slopes staircase is a delicate and patient task, but by following the steps above, you can ensure that the installation process goes smoothly. We hope this guide has helped you to successfully complete the installation of glass spigots. If you have any questions or need further assistance with the installation process, please feel free to contact us by leaving a comment or send us emails.