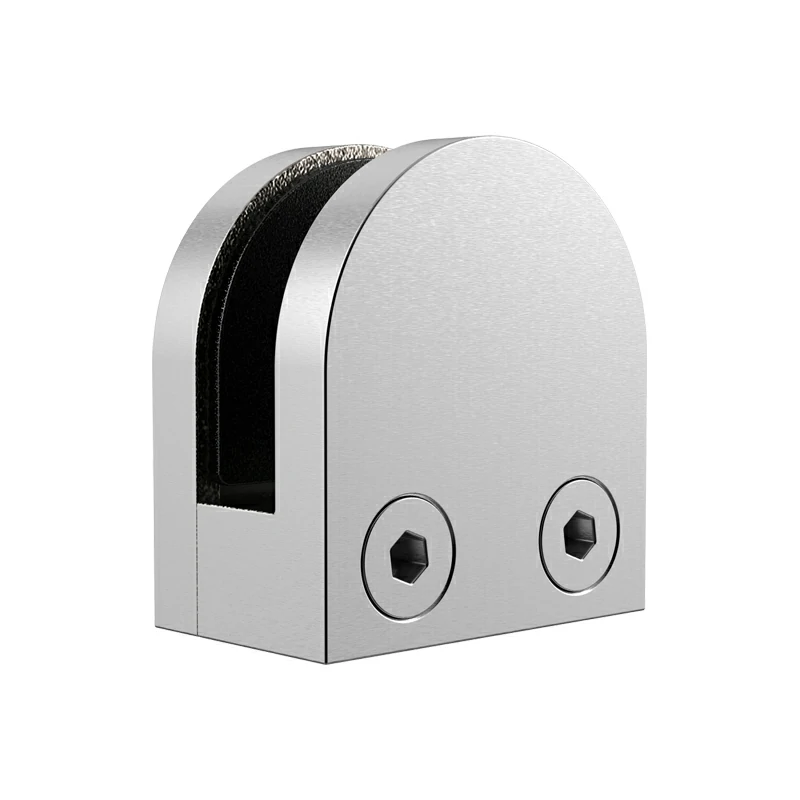
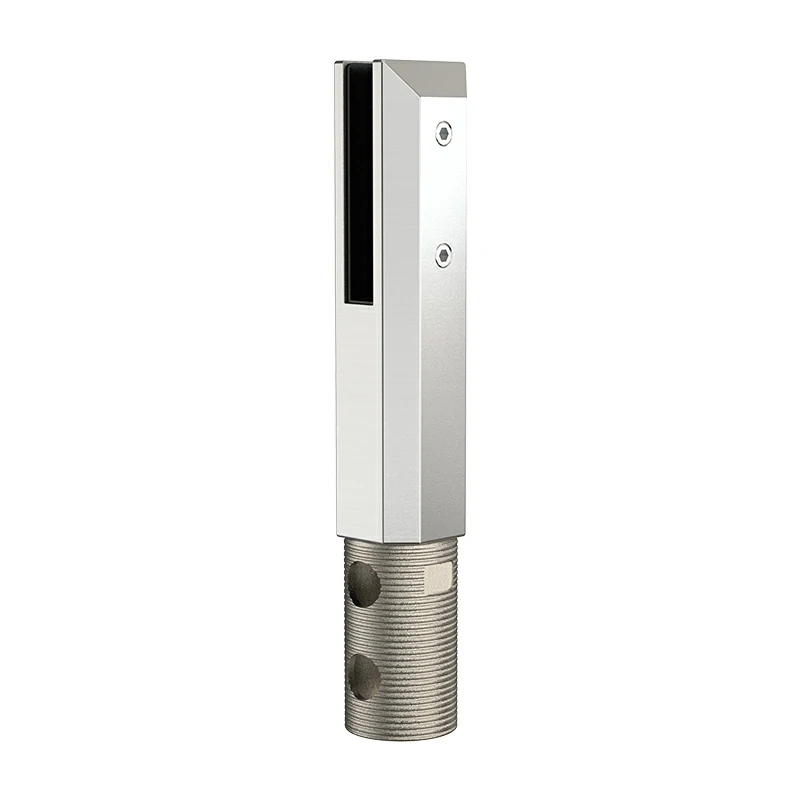
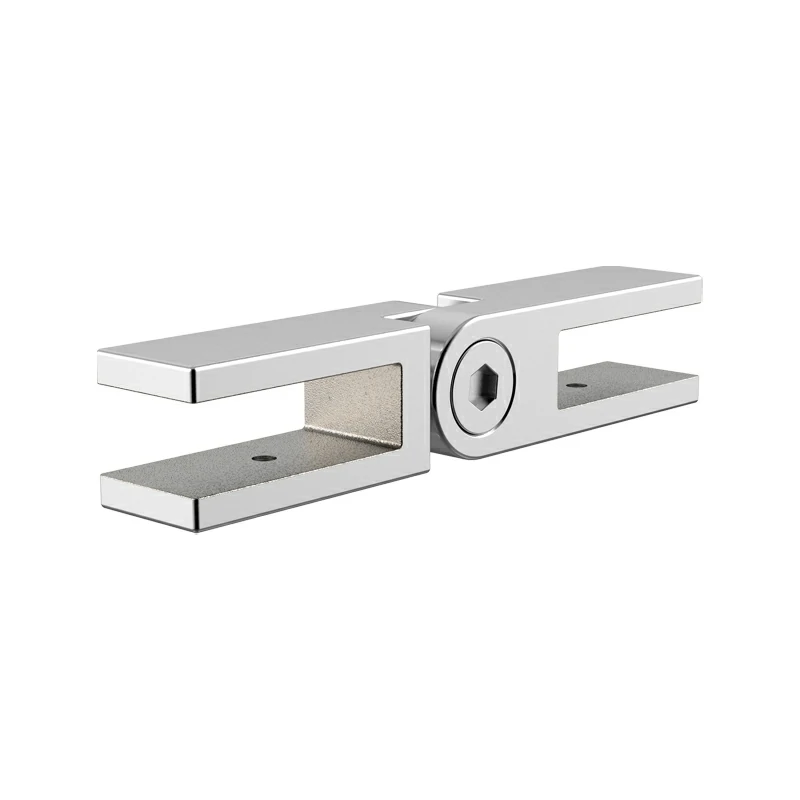
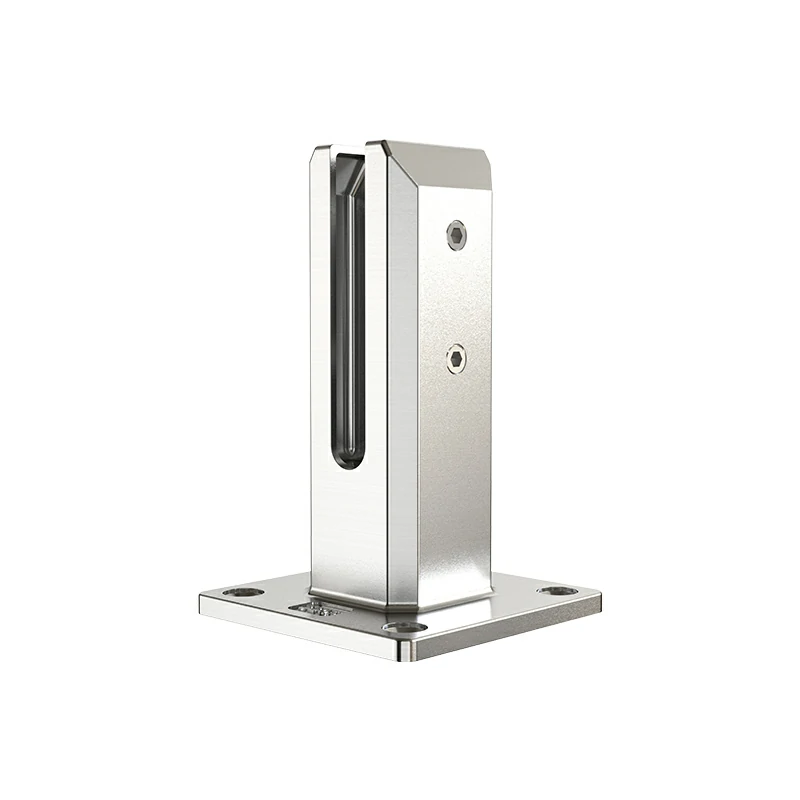
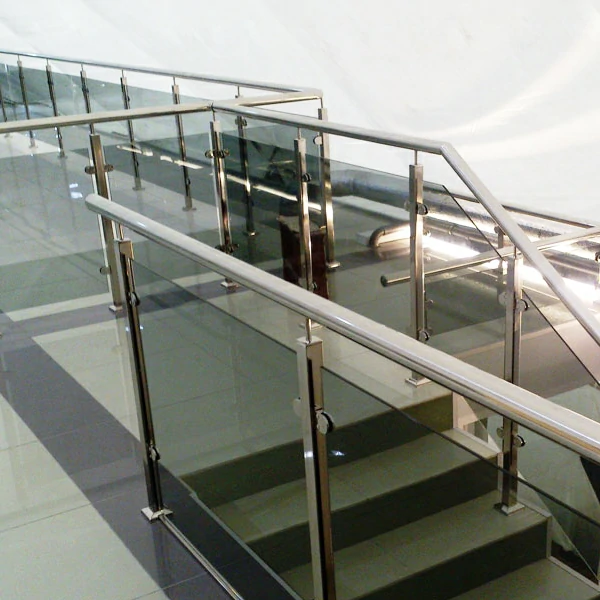
Enhance the aesthetics and safety of your pool area with Aleader's high-quality glass railing solutions. Ourglass spigots and glass clamps securely hold glass panels in place, providing a clear, unobstructed pool view while adding a stylish, modern aesthetic that complements any outdoor space. With spring hinges and latches, your pool area will be both fashionable and secure.
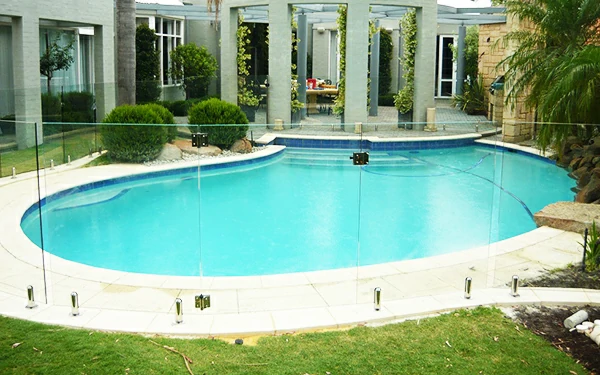
Glass Pool Railing Installation Process
Preparation and Layout: First, carefully mark the installation positions of the glass spigots. Ensure that the spacing between each spigot is even to provide consistent support for the glass panels. Double-check your measurements to ensure accurate alignment.
Drilling: Use a core drill to make holes in the ground according to the marked points. These holes will serve as anchor points for the spigots. Ensure that the depth and diameter of the holes match the specifications of the spigots for safe installation.
Installing Glass Spigots: Place the glass spigots into the drilled holes and secure them firmly with fasteners. It's crucial to check the level of each spigot to ensure the glass panels are installed evenly.
Installing Glass Panels: Once the spigots are in place, carefully insert the glass panels into the spigots. Adjust as necessary to ensure the glass panels are secure and straight. Then, use glass clamps to further secure the glass panels, locking them firmly in place.
Installing the Door: For the front door, install the spring hinges on the designated glass panel. These hinges enable smooth automatic closing, which is essential for maintaining pool safety. After securing the door, install a latch to ensure the door closes securely and prevents unauthorized access to the pool.
Final Adjustments: After all components are installed, conduct a final check to ensure the glass panels are properly aligned and the hinges function smoothly. If necessary, tighten all fasteners and clean the glass panels to remove any installation residue.

