Glass spigots are becoming increasingly popular in modern decorating, not only do they provide solid support but they also add a modern touch to the overall design. Whether it's a glass balustrade, partition or fence, it's vital that glass spigots are installed correctly.
Below you will find details on how to install glass spigots on your wall to ensure that your glass panels and structurally insulated panels are safe and stable.
Step 1: Measure and Mark
First, use a measuring tape to determine where the glass spigots will be installed. Make sure the distance between each glass spigot is even and suitable for the size and design of the glass or structurally insulated panel. Mark the exact mounting points with a pen or marker — accuracy here is critical.
Step 2: Drilling
Next, use an electric drill to drill holes in the marked locations. The depth and diameter of the drill holes should match the expansion bolts or anchors. Be careful when drilling to avoid damaging wires or pipes inside the wall.
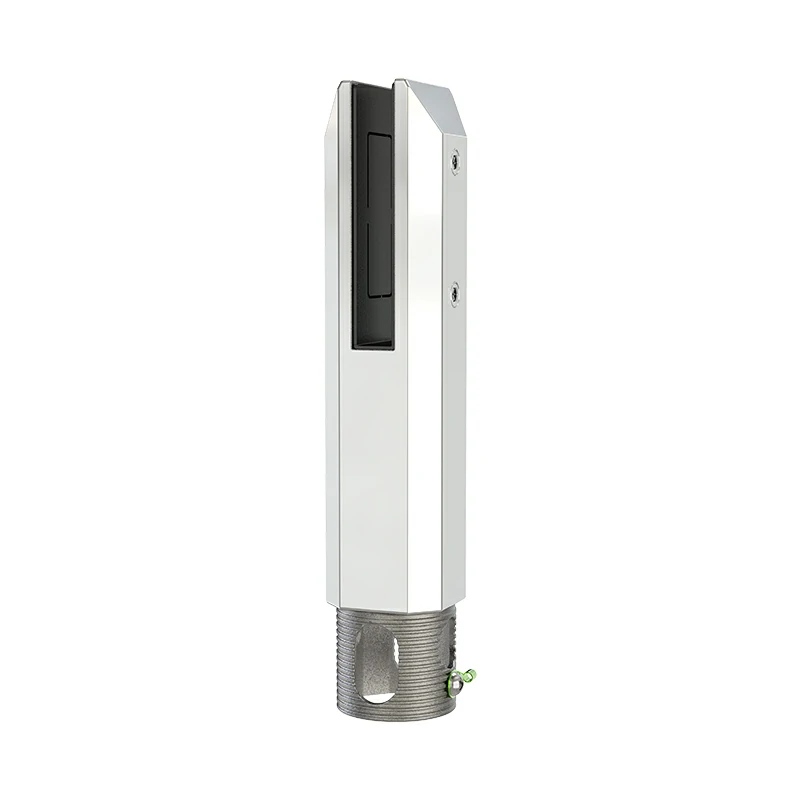
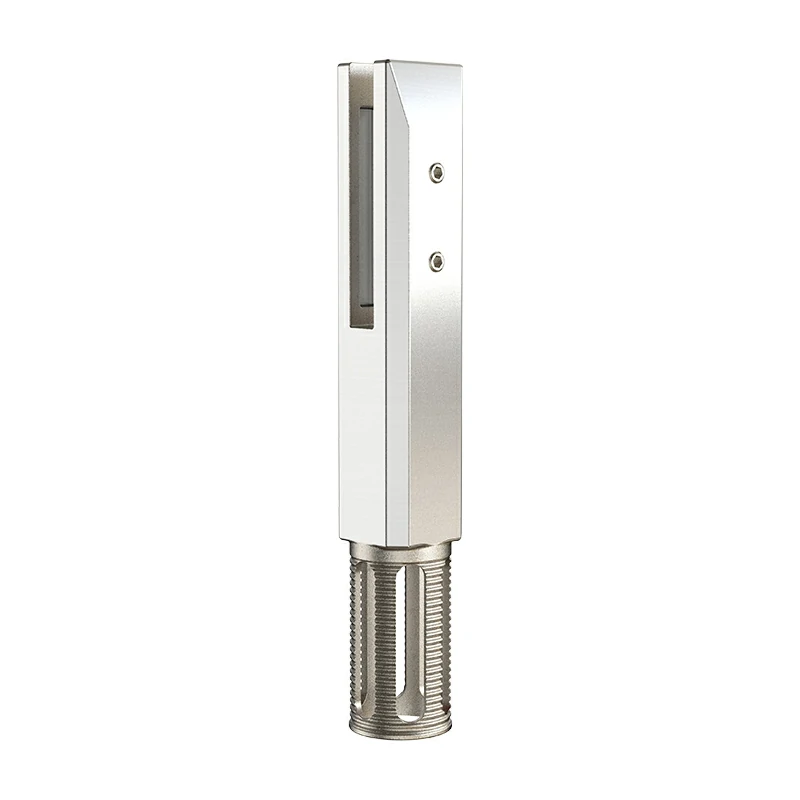
Step 3: Install Expansion Bolts
Insert the expansion bolts or anchors into the drilled holes and tap them gently with a rubber mallet to make sure they are securely fastened inside the wall. This step ensures that the glass spigots base will be stably attached to the wall.
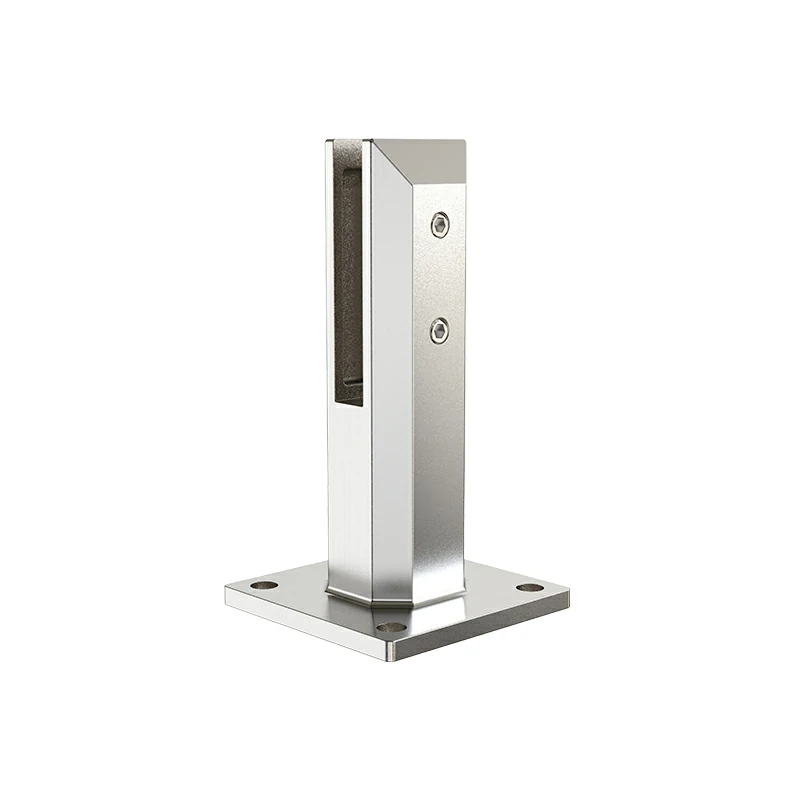
Step 4: Securing the glass spigots base
Align the glass spigot base with the bolts and fasten it tightly using a screwdriver. Make sure it's solidly secured to support the glass or structurally insulated panel.
Step 5: Place the Glass Gasket
Before securing the glass panel, place an appropriate amount of glass spacers inside the jaws of the glass spigots. The glass spacer protects the glass spigot from direct contact with metal, thus preventing damage.
Step 6: Installing the glass spigot
Carefully place the glass panel into the installed glass spigots. If you're working with structurally insulated panels, ensure they’re properly aligned and level with the spigots. Use spacers evenly for stability.
Step 7: Adjust and fix the glass panel
Use a level to check if the glass panel is level. If necessary, fine-tune the position of the glass spigots or the glass panel. Fix the glass panel with screws or clips according to the design of the glass spigots to ensure that all screws and fixings are securely installed.
Step 8: Check and confirm
Finally, double-check all fixings for security and stability. Make sure the glass panel or structurally insulated panel is level and plumb.
Safety Tips
Be sure to pay attention to safety during the entire installation process. Wear goggles and gloves to protect yourself from glass shards or tools. Handle the glass carefully as it is fragile and avoid applying excessive force when handling it. Ensure that the wall is able to support the weight of the glass, and call a professional for a structural assessment if necessary.
Summarizing
Installing glass spigots requires precision and patience. By following this guide, you can achieve a stable, modern installation for your glass or structurally insulated panels. If you need advice or further support, feel free to contact us anytime.