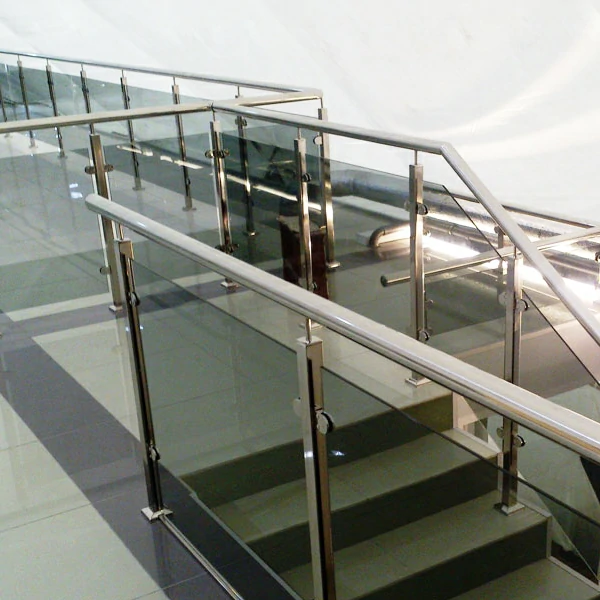
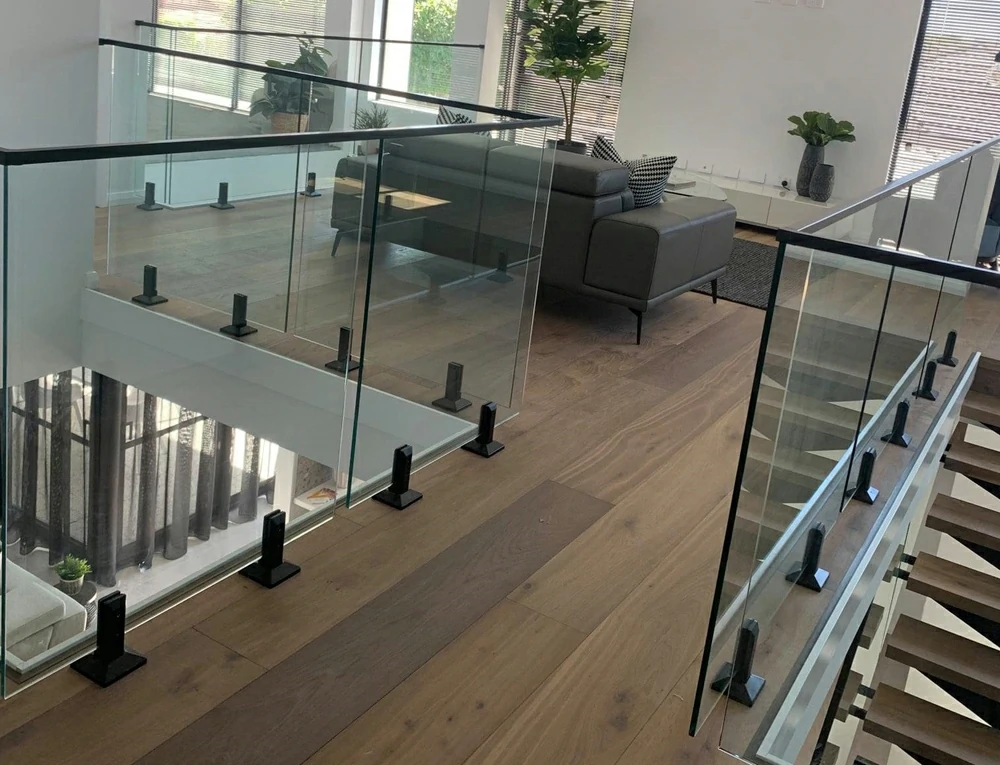
Installing glass spigot on stairs can add a modern, sleek look to your home or commercial space. These spigots provide secure support for glass panels, creating a minimalist railing system that enhances both safety and aesthetics.
Here’s a detailed guide on how to install Glass spigot staircase.
Step 1: Measure and Plan
Start by measuring the length of the stairs and determining the spacing between the glass spigots location. Typically, stainless steel spigots are spaced about 3-4 feet apart, but this can vary based on the thickness of the glass and local building codes. Mark the exact locations where each spigot will be installed, ensuring they are evenly spaced.
Step 2: Prepare the Glass Spigot Staircase Surface
Ensure that the surface of the stairs is clean and level. If you’re installing the spigots on a wooden staircase, make sure the wood is solid and can support the weight of the glass panels. For concrete stairs, make sure the surface is free of debris.
Step 3: Drill Holes for the Spigots
Using a drill with an appropriate masonry bit, drill holes into the marked spots on the stairs. The depth of the holes should be sufficient to hold the anchor bolts or screws that will secure the spigots.
Step 4: Spigots Setup
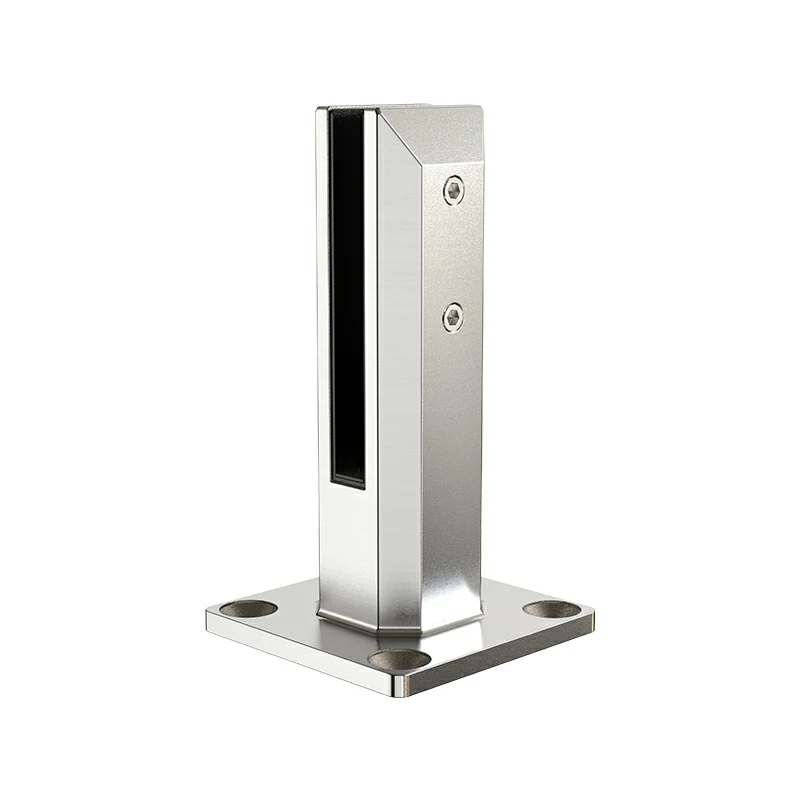
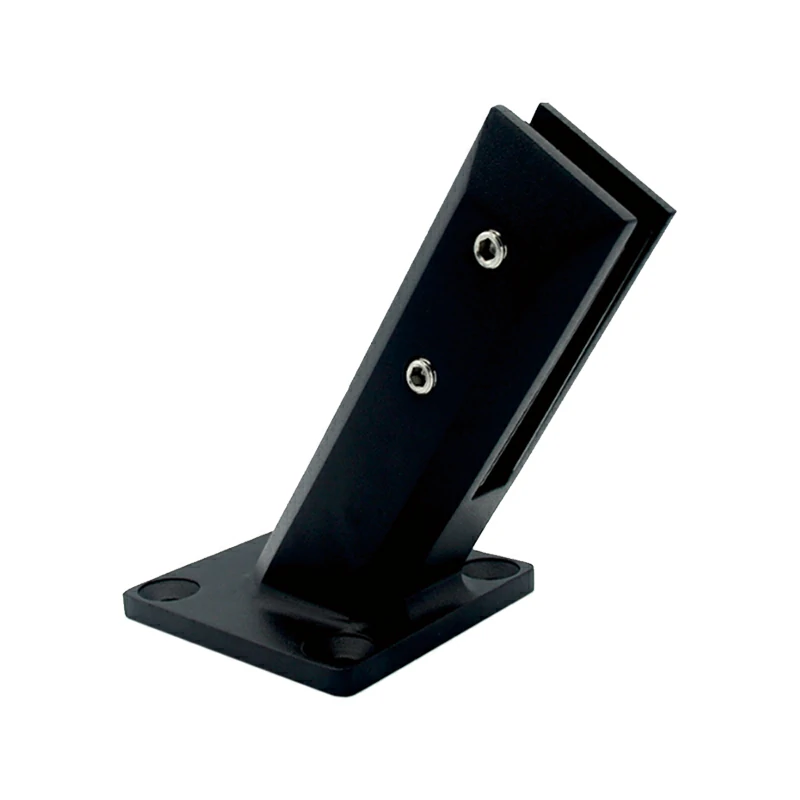
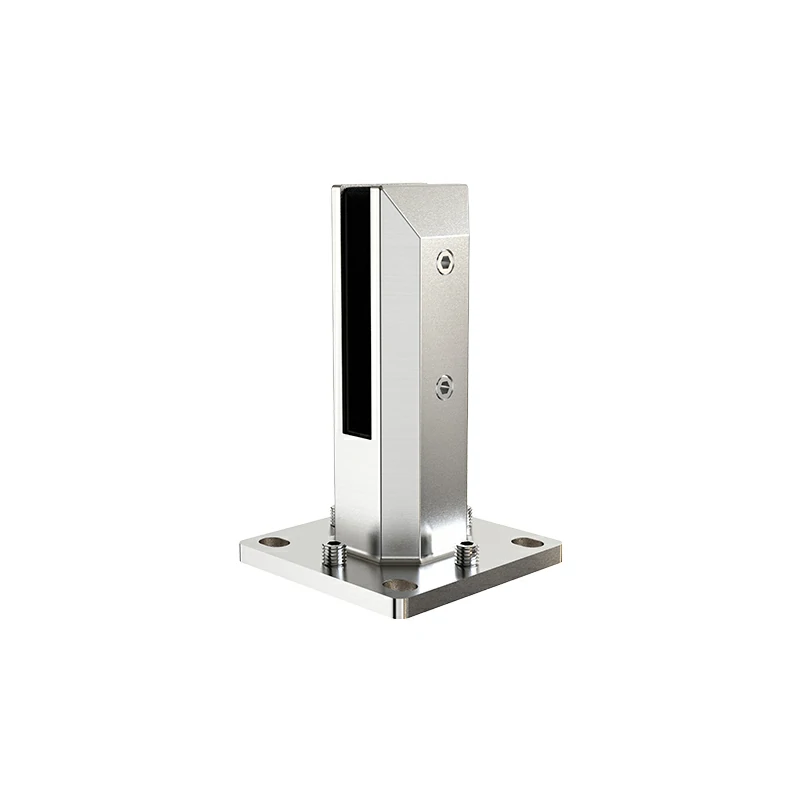
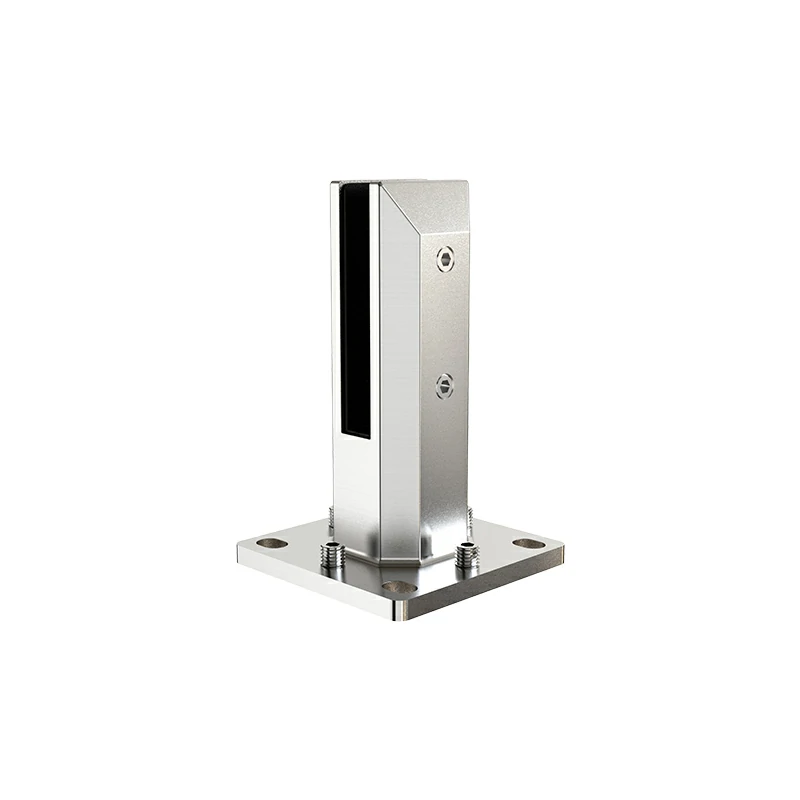
Place the spigots over the drilled holes, ensuring they are aligned correctly. Insert the anchor bolts or screws through the spigot base and into the holes. Tighten them securely using a wrench, making sure the spigots are firmly attached and level. Some spigots may come with rubber gaskets inside the spigot or pads to place between the spigot and the stair surface to absorb vibrations and protect the material.
Step 5: Insert the Glass Panels
Once the spigots are securely in place, carefully insert the glass panels into the spigots. Make sure the glass is properly seated within the spigots and that it’s aligned correctly with the rest of the stair railing.
Step 6: Tighten the Spigot Clamps
Most glass spigots have clamps or screws that secure the glass panel in place. Use a wrench to tighten these clamps, ensuring that the glass is held securely without any movement. Be careful not to over-tighten, as this could damage the glass.
Step 7: Inspect and Finalize
After installation, inspect the entire setup to ensure everything is secure and level. Check that the glass panels are aligned properly and that the spigots are firmly anchored. Clean the glass and spigots to remove any fingerprints or debris from the installation process.
Conclusion
Installing stainless steel glass spigots on stairs is a relatively straightforward process that can dramatically enhance the look of your space. By following these steps, you can achieve a stylish and secure glass railing system that offers both beauty and functionality. Whether you’re a DIY enthusiast or hiring a professional, proper installation is key to ensuring the safety and longevity of your framleless glass railing systems.
Beyond their sleek aesthetic and secure functionality, glass spigots for stair railings excel in three key areas: durability, design flexibility, and maintenance convenience. When it comes to durability, stainless steel spigots stand out—their resistance to rust, scratches, and daily wear ensures they hold up against heavy use, while their robust construction complements the strength of tempered glass, making the entire railing system reliable for years.
Design flexibility is another standout feature: whether you’re working with straight stairs, curved steps, or unique angles, these spigots adapt seamlessly. They pair well with various glass thicknesses and finishes, from clear to frosted, allowing you to tailor the look to match your space—be it a contemporary home or a commercial lobby.
And when it comes to maintenance convenience, the benefits are clear: the smooth surfaces of both the spigots and glass make cleaning a breeze. A quick wipe with a damp cloth removes dust, fingerprints, or spills, ensuring the railing stays looking pristine without tedious upkeep. In short, the durability, design flexibility, and maintenance convenience of glass spigots make them a smart choice that enhances both form and function long after installation.